Primi passi
Dall'acquisto al server protetto: riscattare la key, scaricare, installare, verificare la connessione e girare il pannello.
Questa pagina non è ancora tradotta nella tua lingua: viene mostrata la versione inglese.
This is the whole path, with what you will see on each screen. If you already have your key, start at step 2.
- 1
Buy your plan
At oxbservices.com/pricing you choose the plan, sign in with Discord, fill in your billing details and pay. The key arrives by email and stays saved in your panel, in My keys.
- 2
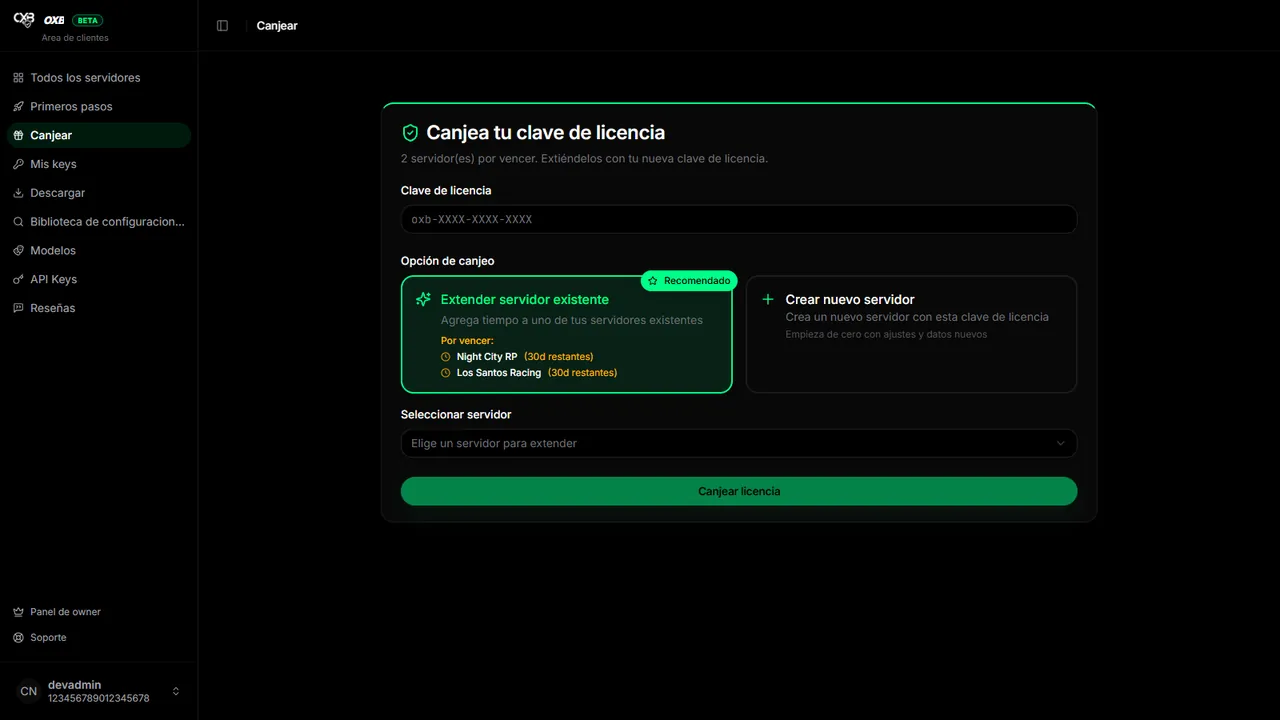
Redeem the key
In the panel open Redeem, paste the key (or press Redeem next to it in My keys) and choose whether it creates a new server or extends one you already have. The time of the plan starts counting at that moment.
- 3
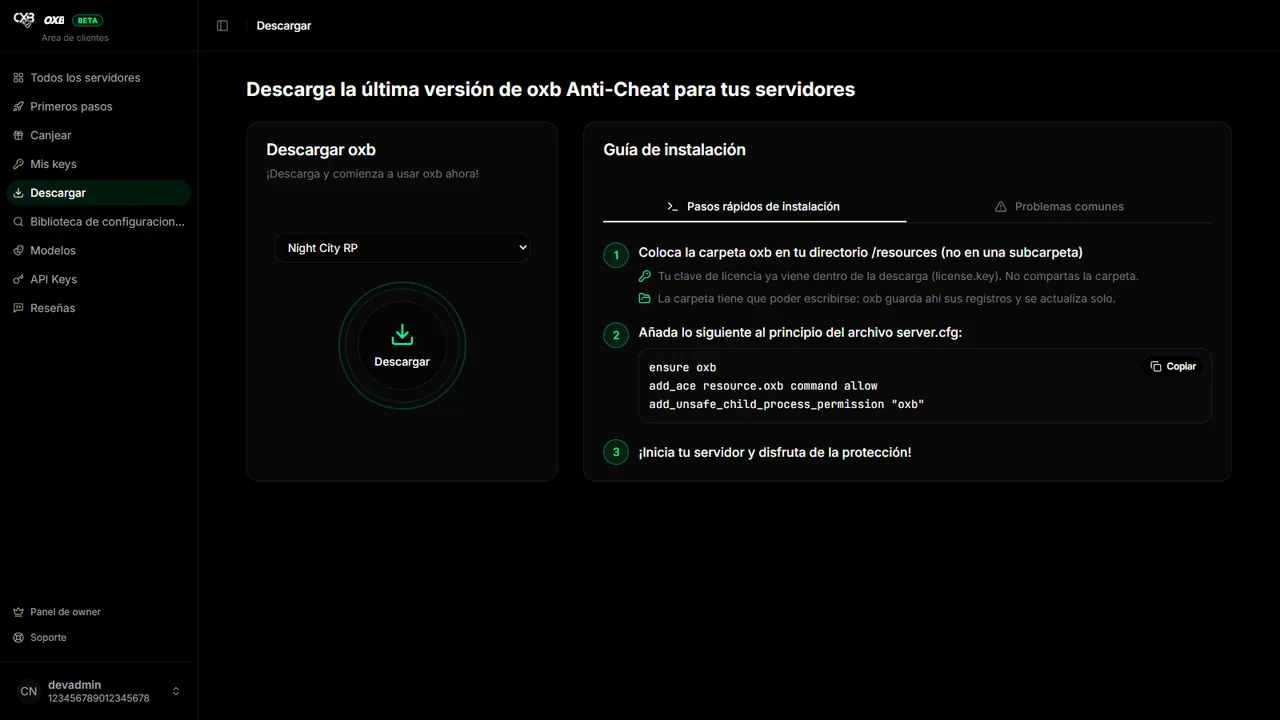
Download the resource
In Download pick the server and press the button. The zip already contains your license (
license.key): every server needs its own copy and you must not share the folder. - 4
Install it on your server
Unzip into
resources/oxb, add three lines toserver.cfgand restart. The details are in Installation. - 5
Check the connection
When the server starts it reports to the panel. In All servers it must switch to Online in less than a minute.
Take the tutorial of the panel#
Inside the panel, Getting started (in the side menu) launches a tutorial that frames every button and explains it, first outside your server and then inside. It lasts about five minutes and you can leave with ESC whenever you want.
Ultimo aggiornamento: 11 novembre 2026